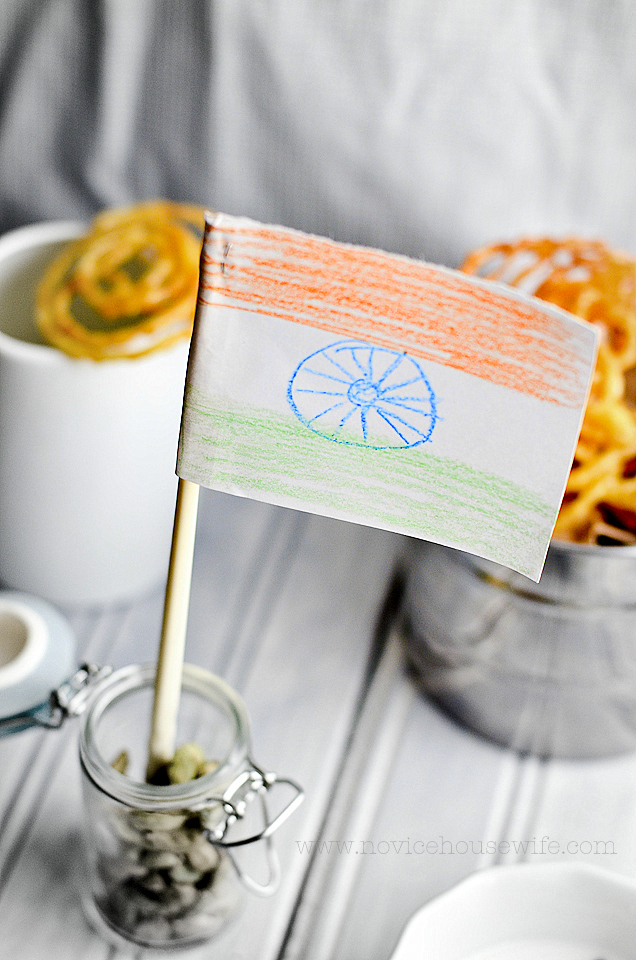
CRISPY, THIN JALEBIS

Prep time
Cook time
Total time
Recipe Type: dessert, indian Prep time: 2 hours Cook time: 30 mins Total time: 2 hours 30 mins Serves: depending on how thick you make them the batter makes sufficient to serve 6-8
Recipe type: dessert, eggless, vegetarian
Cuisine: indian
Serves: depending on how thick you make them the batter makes sufficient to serve 6-8
Ingredients
- 1 cup all purpose flour
- 2½ tbsp rice flour
- 1 tsp yeast
- few strands of saffron
- ¼ tsp turmeric (mainly for the color)
- 1 tsp oil
- 1 tsp sugar
- ⅓ cup lukewarm water + 3 tbsp warm water for the yeast (might require a little more)
- oil, for frying (you can add 1 tbsp ghee to this oil)
For the syrup:
- (you will be leftover with some syrup that can be used to make tea, shake or even cakes)
- 2 cups sugar
- 1 cup water
- 5-6 cardamom pods, crushed slightly (or a pinch cardamom powder)
- few strands of saffron
- 2 tsp lemon juice
Instructions
To make the dough:
- Dissolve yeast in 2 tbsp warm water. Cover and let sit 5 minutes.
- Combine the flours, sugar, spices, oil in a large bowl. Add the yeast and water little at a time and mix, making sure there are no lumps.
- Add enough water to make a pancake like batter. Let ferment covered for 1-2 hours.
To make the syrup:
- Fifteen minutes before you are ready to fry, boil the sugar and water together with the cardamom pods. Let boil till all the sugar is dissolved. Once the sugar syrup attains one string consistency. Add the lemon juice and saffron. Switch off heat.
To make the jalebis:
- Mix the fermented batter well. Add it either to a Ketchup Plastic Bottles or to a piping/ziploc bag fitted with a number 3 nozzle.
- Heat the oil in a flat frying pan about 1½″ deep. You can add a spoon full of ghee to pre-heated oil at this stage to add to the aroma. To check if the oil is ready, put a drop of batter in the oil, if the drops sizzles and comes up without changing color right away, the oil is ready. Keep the flame at medium low heat for frying once you attain the right temperature of about 350F.
- Quickly and patiently squeeze out the batter into the hot oil making about 6-8 small circular motions. Start from outside making circles & ending somewhere in the middle ensure these concentric circles & sealed. Its ok if you don't get the perfect shape. I didn't either. They will taste great either ways. Remove from oil once golden brown on both sides. Transfer into the warm syrup.
- Allow Jalebis to remain in the syrup for just a minute, using a kitchen tong to flip & let both sides soak syrup, shake off excess sugar syrup and quickly move to a plate. Do not let them sit more than a minute, else they will get soggy. Since mine were thinner, I just let them sit for about 30 seconds on each side and took them out.
- Serve hot, with some warm milk if you like.
Tips and tricks to help you get that perfect jalebi:
- This video from Manjula's kitchen (http://www.manjulaskitchen.com/2007/04/02/jalebi-sweet/) will help in general. Though the recipe I used is a mix of several that I found online.
- The oil should be neither too high nor too low. Too hot oil will not yield a good shape jalebis- as they will rise up too quickly for you to shape them (unless you are a professional and can pipe the heck out in just a second) and too low a temperature will not make them crunchy. The temperature should be around 350F.
- At the correct temperature it should take the jalebis about 3 seconds before the jalebi rises up to the top.
- If you have one, use the biggest flat frying pan (atleast 3 inch deep) you have. I used a kadhai (a wok) because that's what I had, but it was more time consuming as the wok wasn't that big to fry too many at a time.
- The lemon juice is essential in the syrup. It is what gives the hint of tanginess to the jalebis (besides the fermented batter). It also makes sure that the sugar doesn't crystallize while sitting.
- The syrup should be warm (but not piping hot) when you dip the fried jalebis in the syrup.
- You could use a piping bag fitted with a number 3 nozzle or a ketchup bottle, which is far more convenient. I used a chocolate piping bottle that I got from Chocoley.com. The nozzle tip was very small resulting in the thin, crispy jalebis you see in the pictures. If you prefer thicker jalebis, use a slightly thicker opening. How thick the nozzle opening is what determines the width of the final jalebi (they do puff up a little, so keep that in mind as well).
- You can store jalebis in an air tight container for 3-4 days without refrigerating. You can microwave them if you want them a little hot but remember that the microwave does take away a little from its crispiness. You could probably heat them in the oven, but that would require a little preheating and might not be the most efficient way to heat them.
Recipe by The Novice Housewife at https://novicehousewife.com/2012/08/14/garam-masala-tuesdays-celebrating-indias-independence-day-with/