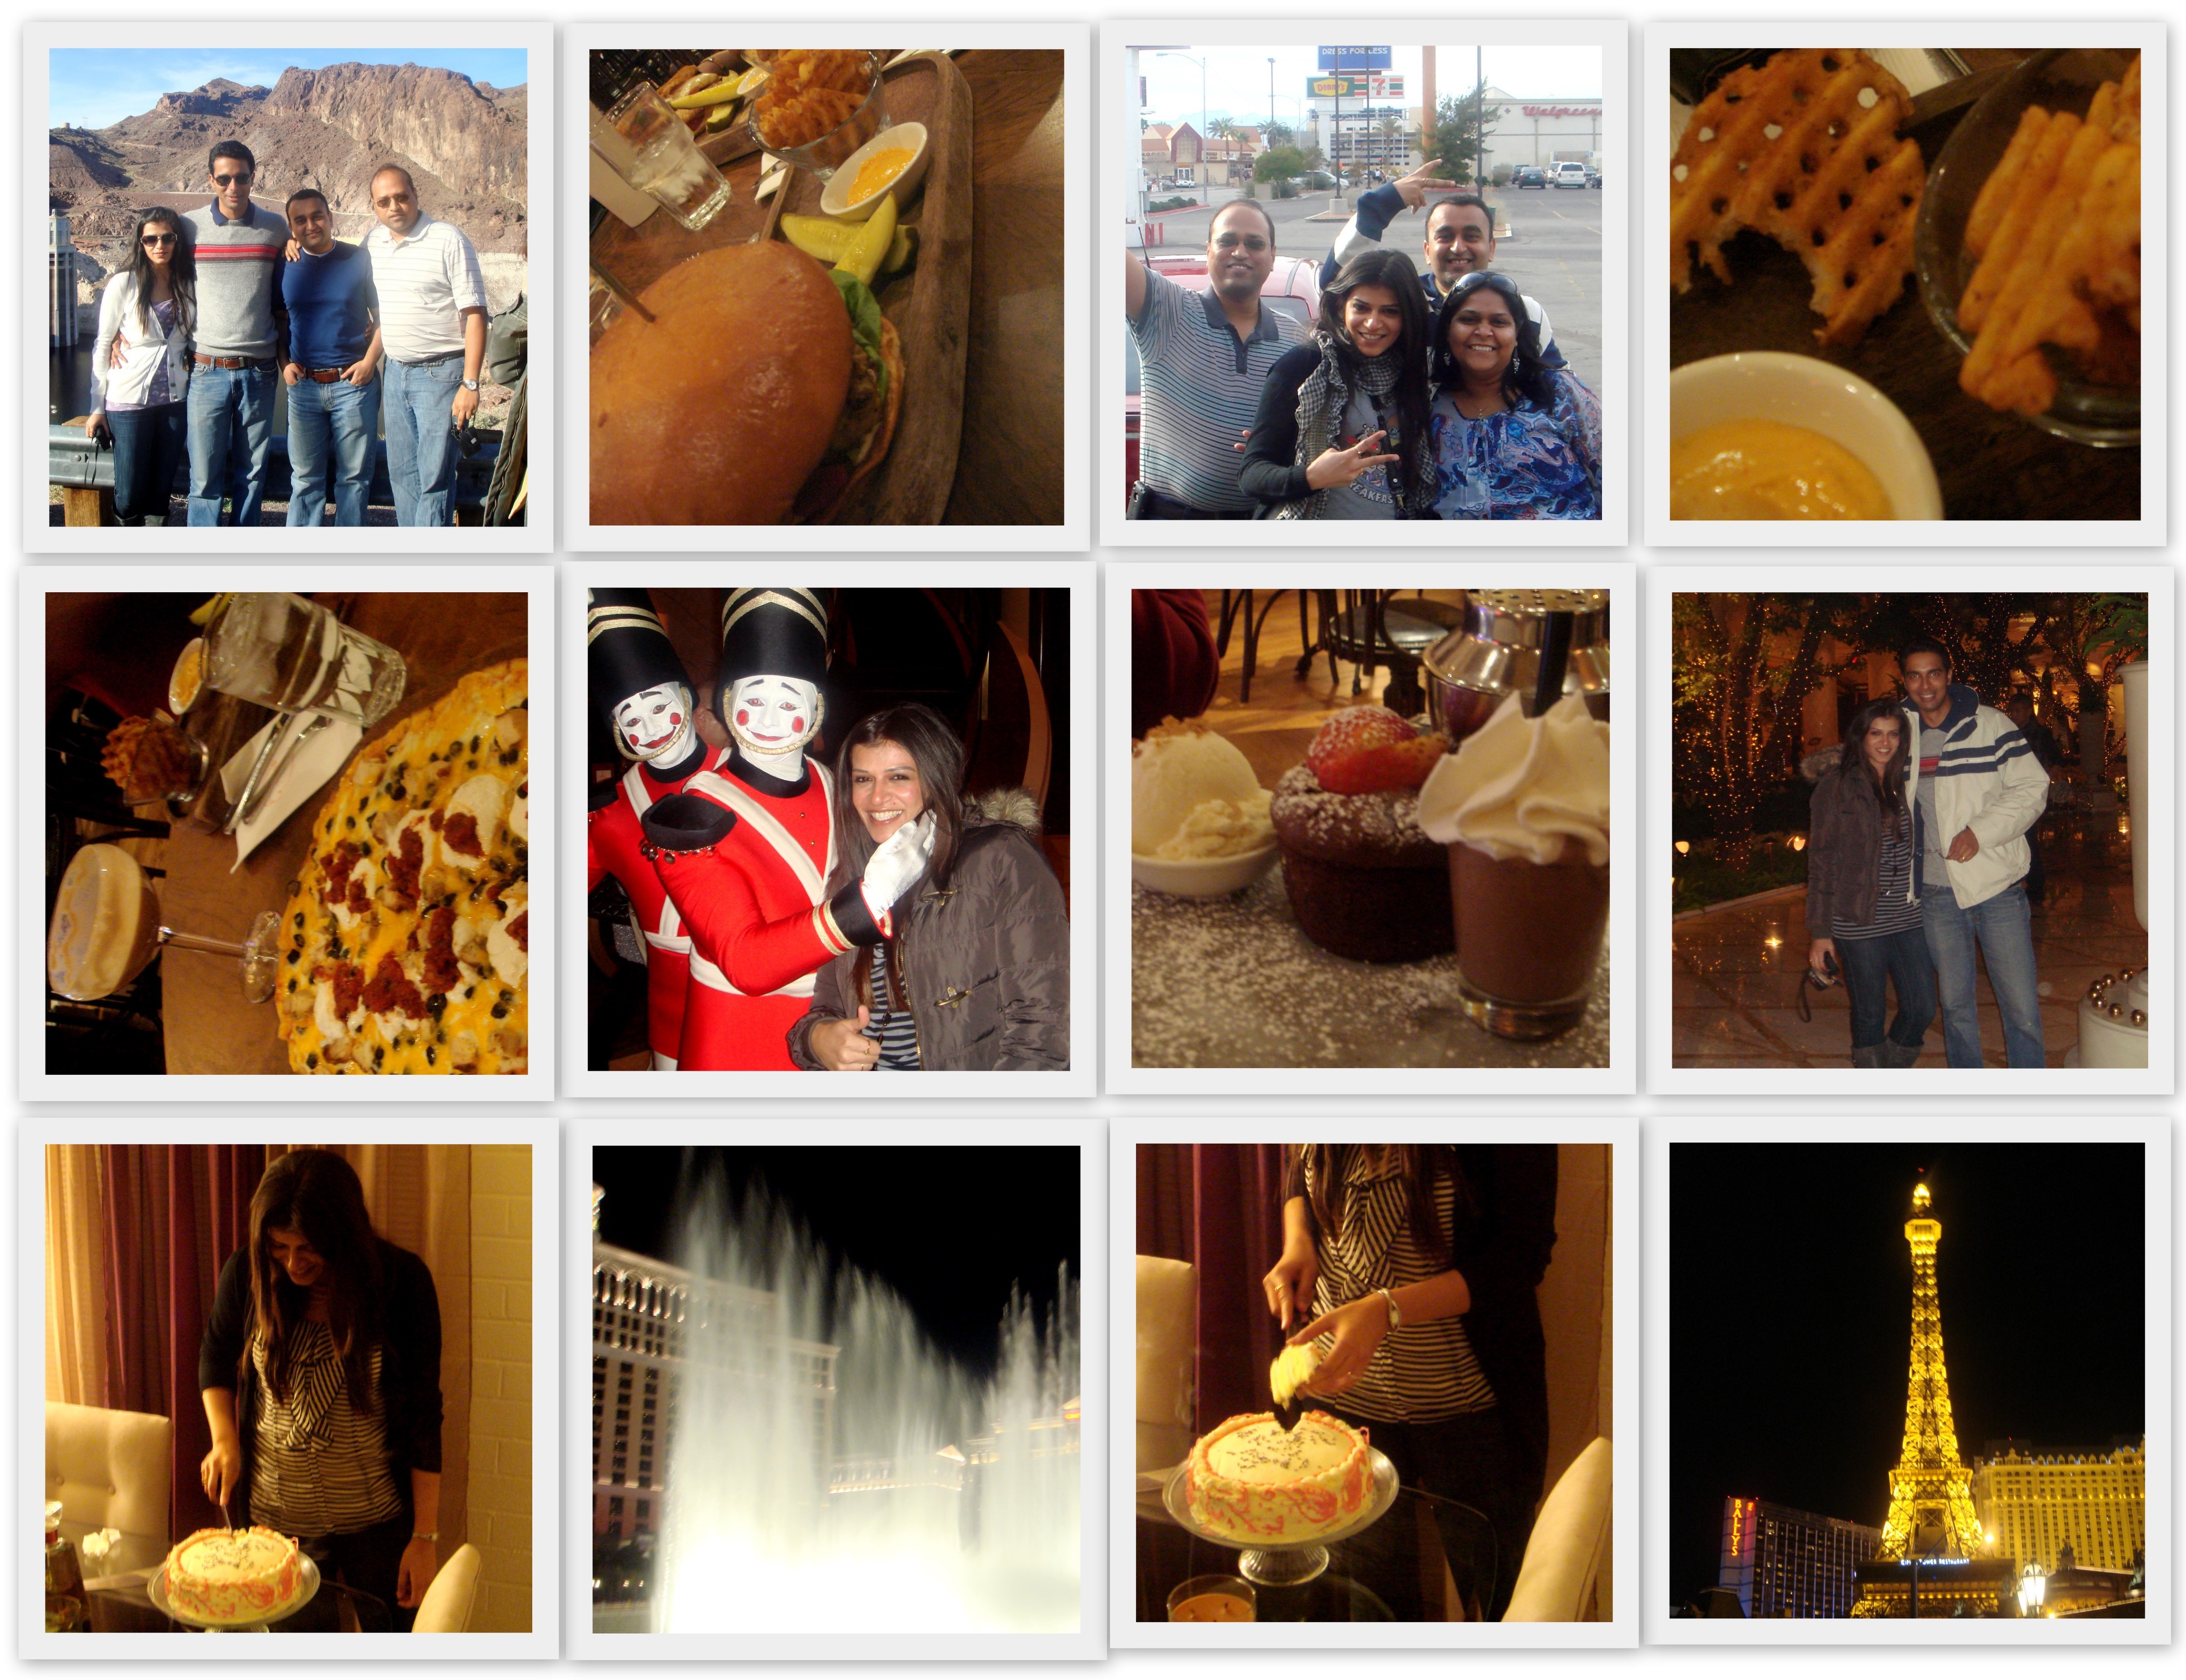
It was my birthday yesterday and finally I turned 18 (or so I would like to believe..sigh…how I wish that was true!!!). Christmas is over but the hang over is still there. The weekend was spent in Vegas (I know- life is gooood!!). It was my first time there and after a long time I had so much of fun! Three days of drinking, eating, drinking, gambling, drinking, shows, lights and did I mention drinking?! Came back late night 26th since V was working on Monday, 27th – my birthday. Called people over for cocktails and cake- it was supposed to be a surprise but V had to tell me since the house was in a mess after the long weekend. So much for the surprise!
Luckily, the cake was already planned. A few days back I discovered Deeba’s blog, and was floored by her baking skills. The moment I laid eyes on her version of the Lavender Chiffon Cake, I knew this was it- this was the birthday cake I had to make. Impressed with the whole look of the cake I decided to replicate it. I tried my hand at the firm white chocolate ganache decoration too with a mango motif design, though with not much success. Of course, Deeba’s cake looks so much more beautiful and wish my pictures were as good (I should have photographed in day light- but the cake got ready in the evening, just in time for the party). Looks aside, the cake was excellent- just baked, it was springy to touch like a chiffon cake should be, and light as a feather! So what if my photography and decorating skills aren’t that good! As they say, you learn from your mistakes and am happy to come out of this as a more experienced decorator- I promise next time would be better.
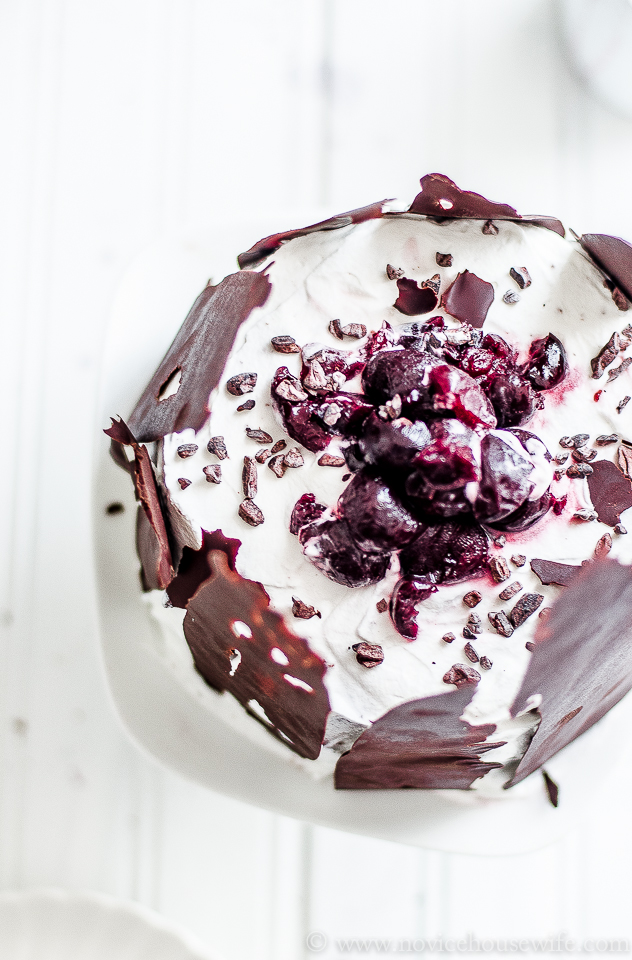
Black Forest Cake is one of V’s favorite cake and for a long time he had been hinting that I should make one. Now, in India its a pretty popular cake and most people I know love it. Not me. I am not a fan and never was. I am the dark truffle cake kind of girl. Or the strawberry cheesecake girl but NOT the Black Forest Girl. So, when I decided to make this cake V and I had a deal – that he has the sole responsibility of finishing it and I won’t help. But, argghhh, my love for all things sweet- I don’t think I’ll be keeping my end of the deal. But, going by the cake, I think V is going to keep his end.
For the recipe, I took out the Cake Bible. Like the name suggests- its just that! If you love baking, this is one must-have book! Rose’s Swiss rendition of the Black Forest Cake is far lighter and more delicate than the original German one. Kirsch soaked cherries are sandwiched between two thin, light layers of liqueur moistened chocolate génoise to make the cake. (In true representation of myself, I goofed up and did not read Rose’s instruction to half the recipe for the génoise and ended up making the full recipe. Thus, instead of a two-layer cake I had a four layer cake, which was not too bad- kind of like the cake we get in Indian bakeries!)
The whipped cream is barely sweet so in case you want a sweeter taste add more sugar. Rose also gives the option of using Super Stabilized Whipped Cream. While, the Real Old Fashioned Whipped Cream is lighter in texture, the cake cannot be held at room temperature for more than 15- 30 minutes. I took my chances because I did not have the required gelatin for the Super Stabilized one. Also the Real Old Fashioned Whipped Cream is great for people with access to only the low-fat cream (the 20 % kinds), as the method given results in a 40 % butterfat cream
The cake used has the light texture of a génoise but is more velvety and moist. An equivalent amount of chocolate is used instead of cocoa, but a special technique is employed to intensify the flavor. Before being added to the batter, the chocolate is cooked with water which releases its flavor. When chocolate is dissolved in water, the surrounding barrier of cocoa butter in chocolate dissolves and swells the cocoa particles until they rupture, unlocking the flavor components, thus getting a génoise in the flavor of your favorite bittersweet chocolate bar.
You can make the cake ahead, like I did. Refrigerate or freeze it, in case you don’t plan to make it within 5 days. I kept it at room temperature as I assembled the cake the next day. This was also my first stint at making rosettes (or actually any kind of piping). Lot of improvement is possible, but I think for a first time attempt it did not turn out too bad, watsay?! V loved the look and loved the cake. Hubby is happy, my stomach and thighs are not!
*Update*:
This recipe was first tried on December 21st, 2010. I have made this recipe after that, and have updated the pictures as well. The pictures you see are the updated ones (only the one just below is from the original post), and though the recipe makes a four layer 9 inch cake, for the pictures I halved the recipe and made a 3 layer 6 inch cake. For just the two of us, halving the recipe works absolutely fine, since it makes a smaller cake.
*Second Update*:
I made this again for my dad’s birthday. I experienced a few problems and have learnt a few lessons and tricks to keep in mind from the mistakes I made.
Make sure you use sifted flour. Even before measuring it, sift it first, measure and sift it again over the beaten eggs 2-3 tbsp at a time. Use cake flour (making your own cake flour is given in the recipe).
To be on the safer side, you could also add a tsp of baking powder- classic genoise gets is rise only from beaten eggs, but if you are unsure of your folding skills, add a teaspoon of baking powder.
Gently fold the flour in and try not to over mix. A balloon whisk works well to fold yet not deflate the mixture, you still need to make sure to be gentle.
Also before you mix in the chocolate mixture take about 1 cup of the batter and fold it to loosen the mixture and then add it to the rest of the beaten egg-flour mixture. This will make sure you don’t end up over-mixing the batter.
Also, be generous with your syrup. Everybody loves a moist cake. Poke the cake in places with a toothpick so that the cake soaks the syrup better.
A light and soft chocolate chiffon loaf cake flavored with orange liqueur. A simple and easy recipe, perfect for any occasion.
Edited to add on April 30, 2018:This recipe for chocolate chiffon cake is super easy and yields a fluffy, soft and moist chocolate cake. Addition of orange liqueur elevates the taste of this chocolate chiffon loaf cake taste even more. Feel free to skip it in case you don’t have any on hand. While the top most picture on the post is the most recent, the one directly above went with the original post that went live on November 18, 2010. I am happy to say that I have learnt a lot about photography in the last few years and I hope I continue to grow and never stop learning.
Original Post:
So, we are back to just the two of us in our house. Said bye to V’s parents on Sunday and came back home to an empty house. After one month of Mom’s cooking lessons, catching up on family gossip, Papa’s watering the garden, and celebrating festivals together, V and I are both alone again in the house. From being so busy to not find time to log on to the net, I now have ample time on hand, and of course, back to having nothing to do in the afternoon. Which means- I am back to blogging :)! And, that too with a chocolate chiffon cake! There couldn’t be a better way to come back!
This cake is very, very soft- like the name suggests its like chiffon- light and soft. The recipe is adapted from Classic Home Desserts by Richard Sax. I couldn’t find vanilla essence in my house, which came as a shock to me, because its never happened that I don’t have a bottle of vanilla essence in my pantry. So, instead I used a teaspoon of Godiva chocolate liqueur (like I needed an excuse for doing that!), notching up the cake a little.
⅓ cup unsweetened Dutch- process cocoa powder (in case, dutch process cocoa is not available, switch the baking powder called below for 1 tsp baking soda)
½ cup boiling water
1 tsp instant coffee powder
¾ cup cake flour ( I have used all purpose flour too with good results, though cake flour is ideal)
¾ cup sugar
1 tsp baking powder
¼ cup vegetable oil (use an oil which is neutral in taste)
2 large egg yolks
1 tsp pure vanilla extract
2 tbsp grand marnier (optional)
4 large egg whites
Pinch cream of tartar
Instructions
Preheat oven to 180 C/350 F. Line a 8 by 4 inch loaf pan with parchment paper.
In a bowl sift the cocoa powder. Add boiling water and instant coffee. Whisk till blended. Add the oil, egg yolks, vanilla and grand marnier to it. Whisk well.
In another bowl, sift the flour with the baking powder and ½ cup of the sugar.
Add the cocoa-water mix to the flour mix and stir till combined. Don't over mix.
In a grease free bowl, beat the egg whites with the cream of tart until soft peaks.
Gradually add in the sugar and beat whites till stiff peaks.
Fold ¼ of the beaten egg whites to the chocolate mixture, to loosen the batter.
Gently fold in the remaining batter, making sure to not deflate the whites.
Scrape the batter into the prepared pan; smooth the top.
Bake until toothpick comes clean when inserted in the centre of the cake, about 50 minutes (start checking after 40-45 minutes, depending on your oven)
Cool cake in pan on wire rack for 10 minutes. Invert and let cool to room temperature. Enjoy!


